Contents
- 📋 Prerequisites & What You Need
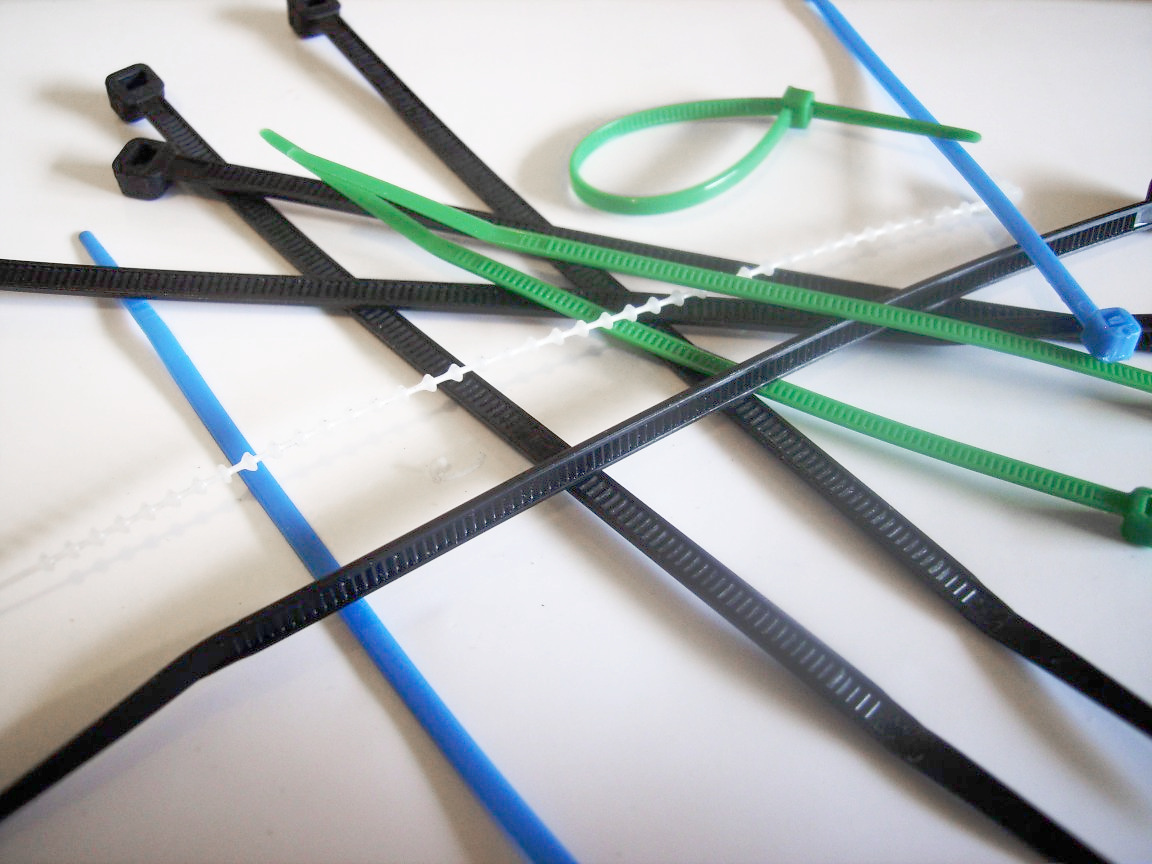
- 🔧 Step 1: Select Your Cable Tie
- ⚙️ Step 2: Position the Items
- 🎯 Step 3: Thread the Tie
- ✅ Step 4: Tighten the Loop
- 🚀 Step 5: Trim the Excess
- ⚠️ Common Mistakes & How to Avoid Them
- 💰 Cost & Time Breakdown
- 📊 Expected Results & Metrics
- 💡 Pro Tips & Advanced Techniques
- Frequently Asked Questions
- References
- Related Topics
Overview
This guide will walk you through the fundamental process of using a cable tie, a ubiquitous fastener found in nearly every facet of modern life, from organizing electronics to securing temporary structures. You'll learn the basic mechanics of how these simple nylon or steel devices work, enabling you to efficiently bundle wires, manage hoses, or even create makeshift repairs. By the end of this guide, you will be proficient in applying cable ties for a variety of tasks, saving time and ensuring tidy, secure arrangements. This method is universally applicable, requiring no special tools beyond the cable tie itself and the items to be secured.
📋 Prerequisites & What You Need
Before you begin, ensure you have the necessary components: the items you wish to secure (e.g., electrical cables, hoses, or other materials) and a supply of cable ties. Cable ties come in various lengths, widths, and materials, including nylon (most common, flexible, and inexpensive) and stainless steel (for high-temperature or heavy-duty applications). You may also need a pair of wire cutters or a utility knife for trimming excess tie material, though many ties can be snapped off by hand.
🔧 Step 1: Select Your Cable Tie
Arrange the items you need to bundle or secure into a neat group. Ensure they are positioned so that the cable tie can encircle them without kinking or damaging any delicate components, especially fiber optic cables or sensitive wiring. The goal is to create a compact bundle that the tie can effectively manage.
⚙️ Step 2: Position the Items
Take a single cable tie and identify its head and the flexible tape section. The head contains a ratchet mechanism with a small pawl. Insert the pointed end of the tape section into the opening of the head. You should feel or hear the pawl engage with the teeth on the tape as you push it through.
🎯 Step 3: Thread the Tie
Pull the free end of the tape section firmly through the head. This action tightens the loop around your items. Continue pulling until the tie is snug. For most applications, you want the tie to be tight enough to hold the items securely but not so tight that it deforms or damages them. The Thomas & Betts Ty-Rap, one of the earliest designs, demonstrated this simple yet effective locking principle.
✅ Step 4: Tighten the Loop
Once the tie is sufficiently tightened, you have two options for dealing with the excess tail. The most common method is to trim it using wire cutters or a utility knife, leaving a small stub. Alternatively, some cable ties are designed with a release tab that allows you to depress the pawl and loosen or remove the tie, enabling reuse. This is particularly useful for temporary cable management or when you anticipate needing to adjust the bundle later.
🚀 Step 5: Trim the Excess
Mistake 1: Over-tightening. Always check for kinks or crushing before fully tightening. Mistake 2: Using the wrong size tie. Too small a tie won't fit; too large a tie is wasteful and less secure. Mistake 3: Not trimming the excess. Sharp edges can cause injury or snag on other items. Mistake 4: Forcing a tie that's stuck. If a releasable tie won't loosen, cut it carefully. Mistake 5: Using standard nylon ties in extreme heat or direct sunlight, which can degrade the material over time. Opt for UV-resistant or stainless steel options in such cases.
⚠️ Common Mistakes & How to Avoid Them
Cost: Cable ties are extremely inexpensive. Time: Tying a single cable tie takes mere seconds, depending on user experience and the complexity of the bundle. Bulk applications can be significantly faster with practice.
💰 Cost & Time Breakdown
Expected Results: Neatly bundled and secured items, improved organization, reduced clutter, and enhanced safety by preventing tripping hazards or cable damage. Metrics: The primary metric is the number of items successfully secured per unit of time, and the reduction in disorganization or cable-related issues. A well-tied bundle remains secure under normal conditions.
📊 Expected Results & Metrics
Pro Tip 1: For bundles with many items, use multiple ties spaced evenly to distribute pressure. Pro Tip 2: Consider color-coded ties for different types of cables (e.g., red for power, blue for data) to aid in identification and troubleshooting. Pro Tip 3: For permanent installations, consider heat shrink tubing or Velcro straps as alternatives that offer different benefits like easier access or less permanent binding. Pro Tip 4: Stainless steel ties are ideal for outdoor or high-temperature environments where nylon might degrade.
Key Facts
- Origin
- Industrial and electrical applications
- Category
- guides
- Type
- concept
- Format
- how-to
Frequently Asked Questions
What is the primary function of a cable tie?
The primary function of a cable tie, also known as a zip tie or wire tie, is to securely bundle and hold together items, most commonly electrical cables and wires. Their design, featuring a self-locking ratchet mechanism, allows them to create a tight, adjustable loop that prevents items from separating. This makes them useful for cable management in electronics, automotive, and construction industries, ensuring tidiness and preventing tangles or damage.
Are there different types of cable ties, and when should I use each?
Yes, cable ties vary significantly. Nylon ties are the most common, offering flexibility and low cost, suitable for general indoor use. UV-resistant nylon ties are better for outdoor applications where sunlight exposure is a factor. Stainless steel ties are robust, resistant to extreme temperatures and corrosion, making them ideal for harsh industrial environments or high-heat engine bays. Specialized ties exist, such as hook-and-loop fasteners (like Velcro straps) for applications requiring frequent access or gentler binding, and breakaway ties for safety-critical systems.
How do I properly tighten a cable tie without damaging the contents?
To properly tighten a cable tie, thread the tail through the head and pull steadily. Avoid yanking forcefully, which can damage delicate items like fiber optic cables or thin wires. Aim for a snug fit that holds the bundle securely without deforming or crushing the contents. For sensitive applications, use a cable tensioning tool or practice applying consistent pressure. Always check the bundle for any signs of stress before trimming the excess.
Can cable ties be reused?
Some cable ties are designed for reuse, featuring a small tab on the head that can be depressed to release the locking pawl. This allows the tie to be loosened and removed, then re-applied. However, many standard nylon cable ties are intended for single use; attempting to reuse them can weaken the material or damage the teeth, compromising their holding strength. For applications requiring frequent adjustment, reusable Velcro straps or releasable cable ties are a better choice.
What are the limitations of using cable ties?
Cable ties have limitations. Standard nylon ties can degrade when exposed to ultraviolet radiation from sunlight, becoming brittle. They can also be weakened by extreme heat or certain chemicals. While strong, they a